
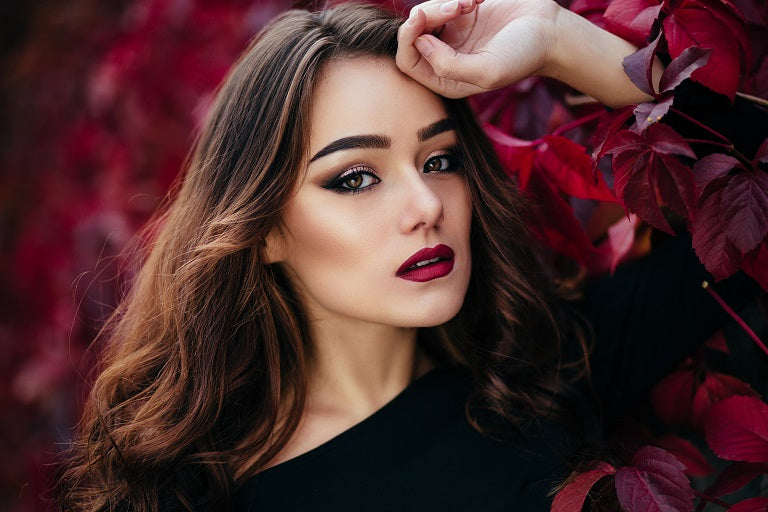
Any uninteresting makeup aspect might be made attractive with shimmer eye makeup. However, matte eye makeup palettes hold a unique place in our hearts because they enhance your appearance and serve as the foundation for the ideal smokey eye. It is time we gave a toast to matte makeup, the unsung hero in our makeup collection, whether you have forgotten that you can create multiple looks using matte eye makeup alone or simply detest shimmer eyeshadow.
What is Matte Makeup Look?
Matte entered the makeup industry with a bang, and this fashion is here to stay. Nowadays, few individuals still love glossy makeup looks because matte is so fulfilling and aesthetically beautiful. Matte makeup styles are incredibly alluring, stylish, and elegant. They also give your face a more defined appearance and last for a longer period of time. Aside from that, achieving the matte effect isn't that tough either, and there are plenty of hacks that can probably help you get there without spending a lot of time and effort.
A matte makeup look leaves your face with a matte finish and takes away all of the sheen and gloss. This not only effectively conceals your facial flaws but also gives you a really regal look. For oily skin types, this look works best because it can reduce the oily appearance while still blending in like a soft powdery look.
In addition to being amazing for photography, the matte makeup look is also fantastic if you have oily skin. With the correct makeup and methods, you may give your entire face a matte appearance. Your skin, eyes, and lips will all have the desired matte appearance once you're done.
Here We Provide The Easy Matte Eye Makeup Look Tips
1. Prime Your Lids
The perfect texture for your eyeshadow to slide on and make the colours pop is provided by priming your lids. Apply a small bit of primer all over your eyelid, up to your brow bone, after applying a pea-sized amount of eye cream (this will keep the area hydrated and prevent creases).
2. Add A Neutral Colour
Pick a neutral eyeshadow colour from the palette and spread it evenly over your lids after applying your primer. This will serve as the foundation for the look you want to create and improve the appearance of the ensuing eyeshadows. It will also aid in hiding any staining that may be present on the lid.
3. Start With Defining Your Crease
The creases can be defined to give your eyes additional depth. Therefore, applying eyeshadow should start with this step. Starting with a soft eyeshadow brush and a very light hand, apply a little deeper shade from the palette you're using all over your crease. Keep in mind to start with a very little amount of colour and build it up to the desired intensity.
4. Colour Your Lids
Start with the lid after the crease. Using the same brush you used for your crease, add a lighter hue of your choice. To remove any sharp lines, if any, remember to blend the colour up to the crease as well.
5. Add Finishing Touches
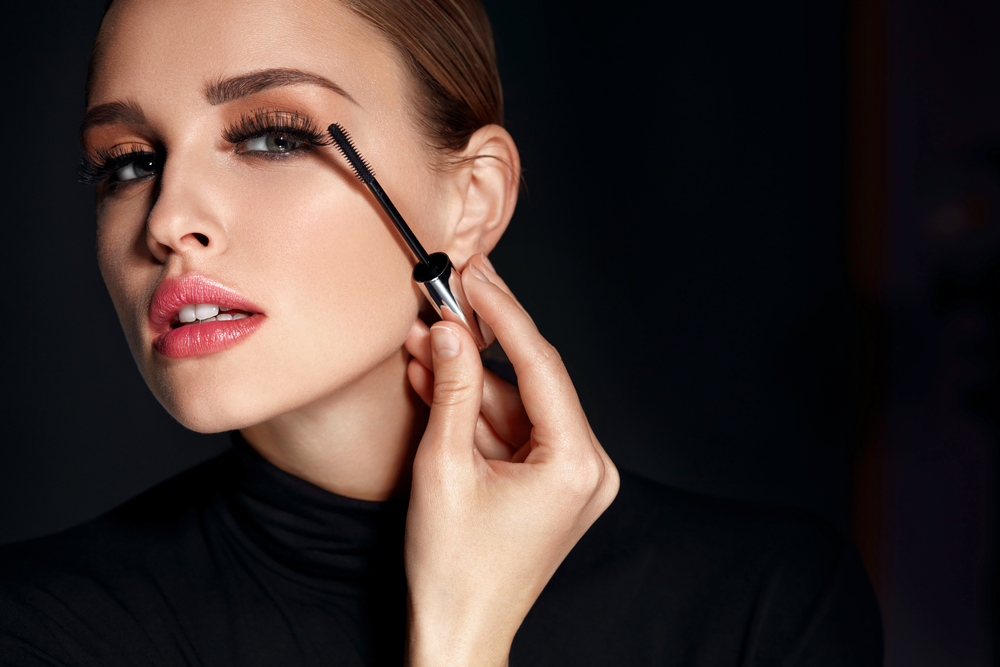
This step is crucial for making sure your eye makeup looks finished. Using a firm angled brush, dab some of the same colour you used on your lid around your lower lashline as well. Next, to open up your eyes and add a little drama, apply two to three coats of volumizing mascara to your lashes.


