Are you looking to restore the grout of your floors, walls and other surfaces? Grouts may become cracked over time due to age or water damage, but with effective maintenance and care it is possible to repair grout back to its original condition.
This blog post will provide professional tips for effectively carrying out a successful grout repair in Perth that will leave your surfaces looking as good as new!
1. Wear Protective Gear
When it comes to grout restoration, safety should always be a top priority. One of the most important things to keep in mind is to wear protective gear before attempting any repairs. Safety goggles are crucial in protecting your eyes from debris, and gloves will keep your hands safe from any cuts or burns. Additionally, a mask is a must-have to prevent inhaling any dust particles during the process. Using the appropriate gear will not only keep you safe, but it will also prevent any infections or injuries that may occur. So, always put safety first when dealing with grout repairs.
2. Clean the Tiles
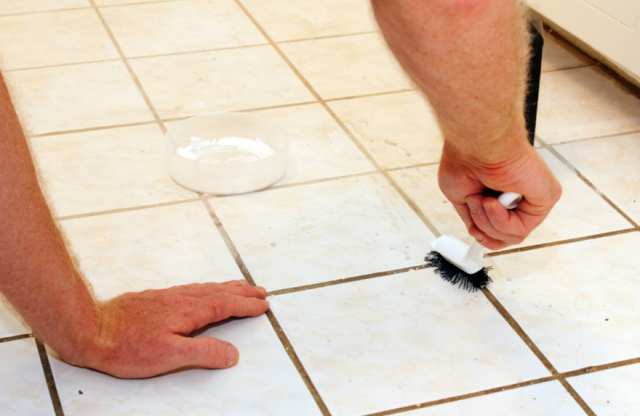
When it comes to grout repair in Perth, one of the most crucial steps is to ensure that the tiles are thoroughly cleaned beforehand. Neglecting this step could result in a less-than-perfect outcome, which is why it's important to take the time to clean the tile surface properly. Using a vinegar and water solution is a great way to remove any dirt, mildew, or soap residue that may have built up over time. Not only will this ensure that the new grout adheres effectively, but it will also leave you with beautifully clean tiles that you'll love to look at. So next time you're thinking of tackling a grout repair, don't forget to start with a thorough cleaning!
3. Remove the Old Grout
Removing the old grout is the most challenging part of repair. It’s important to remove all old grout carefully. Use a grout removal tool or oscillating tool to scrape or cut off the old grout. Be careful not to damage your tiles during this exercise.
4. Prepare the New Grout
Mix the grout according to the manufacturer's instructions and ensure that it matches the colour of your tile. Mix the grout thoroughly to get rid of any lumps and to achieve an even consistency. Having the right amount of grout will ensure you don’t run out of grout during the repair process.
5. Apply the New Grout
Use a grout float or squeegee to apply the new grout to the tile surface. Work at an angle of 45 degrees to ensure that the grout fills all the spaces between the tiles. Be gentle and avoid applying too much pressure to avoid damaging the tiles.
6. Smooth the Grout
Smooth the grout with a damp sponge to remove any excess grout from the tile surface. Work in a circular motion until the grout is flush with the tile surface. Avoid rinsing the sponge too much to prevent removing the grout from the tile.
7. Allow the Grout to Dry
When it comes to grout repair, one essential step that people tend to overlook is allowing the grout to dry completely. It may seem like an insignificant step, but it's crucial to the overall effectiveness of your repair job. By allowing the grout to dry, you're enabling it to fully adhere to the tiles or other surfaces that it's filling the gaps between. Rushing this process can lead to a weaker bond between the grout and the surface, which could ultimately result in the need for additional repairs down the line. Take the time to wait until the grout is fully dry, and you'll be rewarded with a beautifully restored surface that will last for years to come.
8. Seal the Grout
After the grout has dried, apply a sealant to protect and prevent it from absorbing moisture that can lead to damage. A sealant also prevents dirt and grime from accumulating on the tile surface.
Conclusion:
Grout repair in Perth is an essential part of tile maintenance, and it should be done correctly to avoid costly repairs or damage to your tiles. In Perth, grout restoration is a crucial task, and with the eight professional tips mentioned above, you can easily repair your grout like a pro. Always remember to wear protective gear, clean the tiles thoroughly, remove the old grout carefully, and prepare the new grout correctly before application. Apply the new grout gently and allow it to dry for at least 24 – 48 hours before sealing.


