

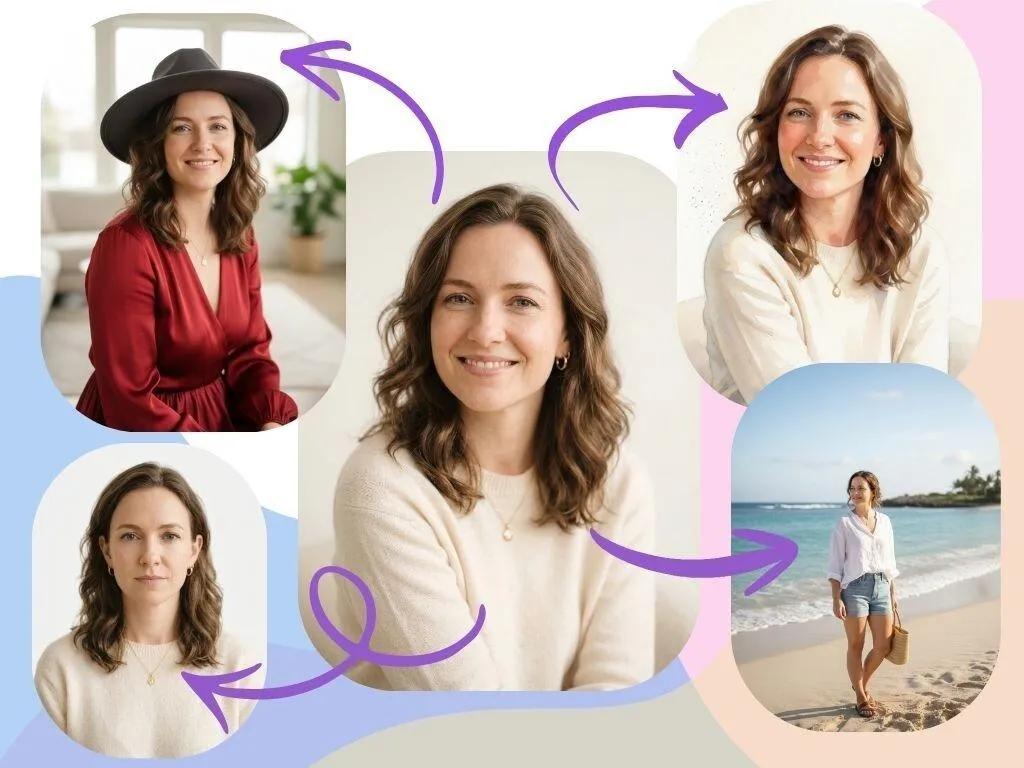
Do you have a brilliant idea for an image but lack the technical skill to create it? You're not alone. Many people have vivid concepts for logos, artwork, or social media posts but struggle to bring them to life. AI image generation solves this problem by transforming your written descriptions into unique, high-quality visuals in seconds. It’s a powerful tool that opens up creative possibilities for everyone, regardless of artistic ability.
This guide will walk you through the entire process, from crafting your first prompt to refining your final image. You'll learn the core steps and discover professional tips to create exactly what you envision.
Your Step-by-Step Guide to AI Image Creation
Creating images with AI is a straightforward process. It’s all about communicating your idea clearly to the tool. Follow these five steps to go from a simple thought to a finished visual.
Step 1: Choose Your AI Image Generation Tool
Your first step is to select a platform. Hundreds of options are available, but for beginners, it’s best to start with something user-friendly and accessible. Look for a tool with a clear interface that doesn't require any technical setup. A great way to begin is with a Free AI Image Generator Online that lets you experiment without any commitment. This allows you to get comfortable with the process before exploring more advanced platforms.
Step 2: Write a Clear and Descriptive Prompt
The prompt is the most important part of the process. This is where you tell the AI exactly what you want to create. A good prompt is specific and detailed. Instead of writing "a dog," try "a happy golden retriever puppy playing with a red ball in a sunny park, photorealistic." The more detail you provide, the closer the result will be to your vision. Think about the subject, the setting, the colors, and the overall mood.
Step 3: Use an Image as a Reference (Optional)
Sometimes, you might already have an image that’s close to what you want but needs changes. This is where image-to-image generation comes in handy. It uses a source picture as inspiration for the final output. You can upload a sketch, a photo, or another AI-generated graphic and then provide a text prompt to guide the transformation. A free image to image generator is perfect for this, allowing you to modify existing visuals or create variations of a concept you like.
Step 4: Select the Right Style and Aspect Ratio
Most AI generators offer a selection of styles to define the look of your image. These can range from "Photorealistic" and "Cinematic" to "Anime" and "Watercolor." Choosing a style helps the AI understand the artistic direction you want. You also need to set the aspect ratio, which is the shape of your image. Common options include 1:1 (square) for profile pictures, 16:9 (widescreen) for banners, and 9:16 (vertical) for stories.
Step 5: Generate, Review, and Refine
Once your prompt is ready and your settings are selected, click the "Generate" button. The AI will process your request and create one or more images based on your input. The first result may not be perfect, and that's completely normal. Review the output and think about how you could improve it. You can refine your image by adding more detail to the prompt, changing the style, or using a negative prompt to exclude things you don’t want.
Tips and Best Practices for Amazing Results
Getting good at AI image generation is about learning how to "speak" the AI's language. Here are some professional tips to help you create better visuals.
Be Hyper-Specific with Details
Vague prompts lead to generic images. The key is to add layers of detail that paint a clear picture for the AI. Include information about textures, materials, lighting, and even camera angles.
Vague Prompt | Detailed Prompt |
A car | A vintage red convertible sports car driving on a coastal road during sunset |
A cat | A close-up portrait of a fluffy Siberian cat with bright blue eyes, soft lighting |
A futuristic city | A neon-soaked cyberpunk city at night in the rain, with flying vehicles |
Use Negative Prompts to Remove Flaws
A negative prompt tells the AI what to avoid. This is incredibly useful for fixing common AI errors like poorly formed hands, extra limbs, or blurry backgrounds. It also helps you refine the image by excluding colors, objects, or styles you dislike. For example, if your image has text that looks wrong, adding "text, watermark, signature" to the negative prompt can fix it.
Experiment with Different Artistic Styles
Don't limit yourself to just one style. Mixing and matching different artistic influences can lead to surprising and unique creations. Try combining artists, movements, or mediums in your prompt.
* For classical art: "in the style of Monet," "Renaissance painting"
* For modern looks: "synthwave," "steampunk concept art," "minimalist graphic design"
* For textures: "pencil sketch," "oil painting," "3D render," "claymation"
Control the Camera and Lighting
Think like a photographer. Use camera and lighting keywords to control the composition and mood of your image. This gives you more command over the final result and makes your visuals look more professional.
* Camera Angles: "Eye-level shot," "low angle shot," "wide angle," "macro shot"
* Lenses: "35mm lens," "85mm portrait lens," "fish-eye lens"
* Lighting: "Cinematic lighting," "golden hour," "studio lighting," "dramatic shadows"
Common Mistakes to Avoid
As you get started, you might run into a few common issues. Here’s what to look out for and how to fix it.
1. Writing Overly Complex Prompts
While detail is good, overloading your prompt with conflicting ideas can confuse the AI. For instance, asking for a "photorealistic cartoon" or a "minimalist rococo painting" may produce weird results. Keep your core concept clear and build details around it. If you want to combine styles, do it thoughtfully, such as "a character in the style of anime with photorealistic lighting."
2. Forgetting the Aspect Ratio
Generating a beautiful widescreen (16:9) image only to realize you need a vertical (9:16) version for a social media story is a common mistake. Always choose your aspect ratio before you start generating. This saves you time and ensures your image is perfectly framed for its intended use.
3. Expecting Perfection on the First Try
AI image generation is an iterative process. Your first attempt is a starting point, not the final product. Don't get discouraged if it's not perfect right away. Use each generation as a lesson to learn what works. Tweak your prompt, try a different style, or change a few keywords to get closer to your goal.
4. Ignoring the Power of a Seed Number
Many AI tools let you use a "seed" number. This number is a starting point for the generation process. If you use the same prompt with the same seed, you'll get a very similar image. This is useful when you like a result but want to make small changes. You can keep the seed and slightly modify the prompt to refine details without losing the core composition.
Conclusion
AI image generation is a powerful and accessible technology that empowers anyone to become a visual creator. By understanding how to write effective prompts, select the right styles, and refine your results, you can turn any idea into a stunning image. The key is to start with a clear vision and embrace the iterative process of experimentation. Now it's your turn to start creating and bring your imagination to life.