

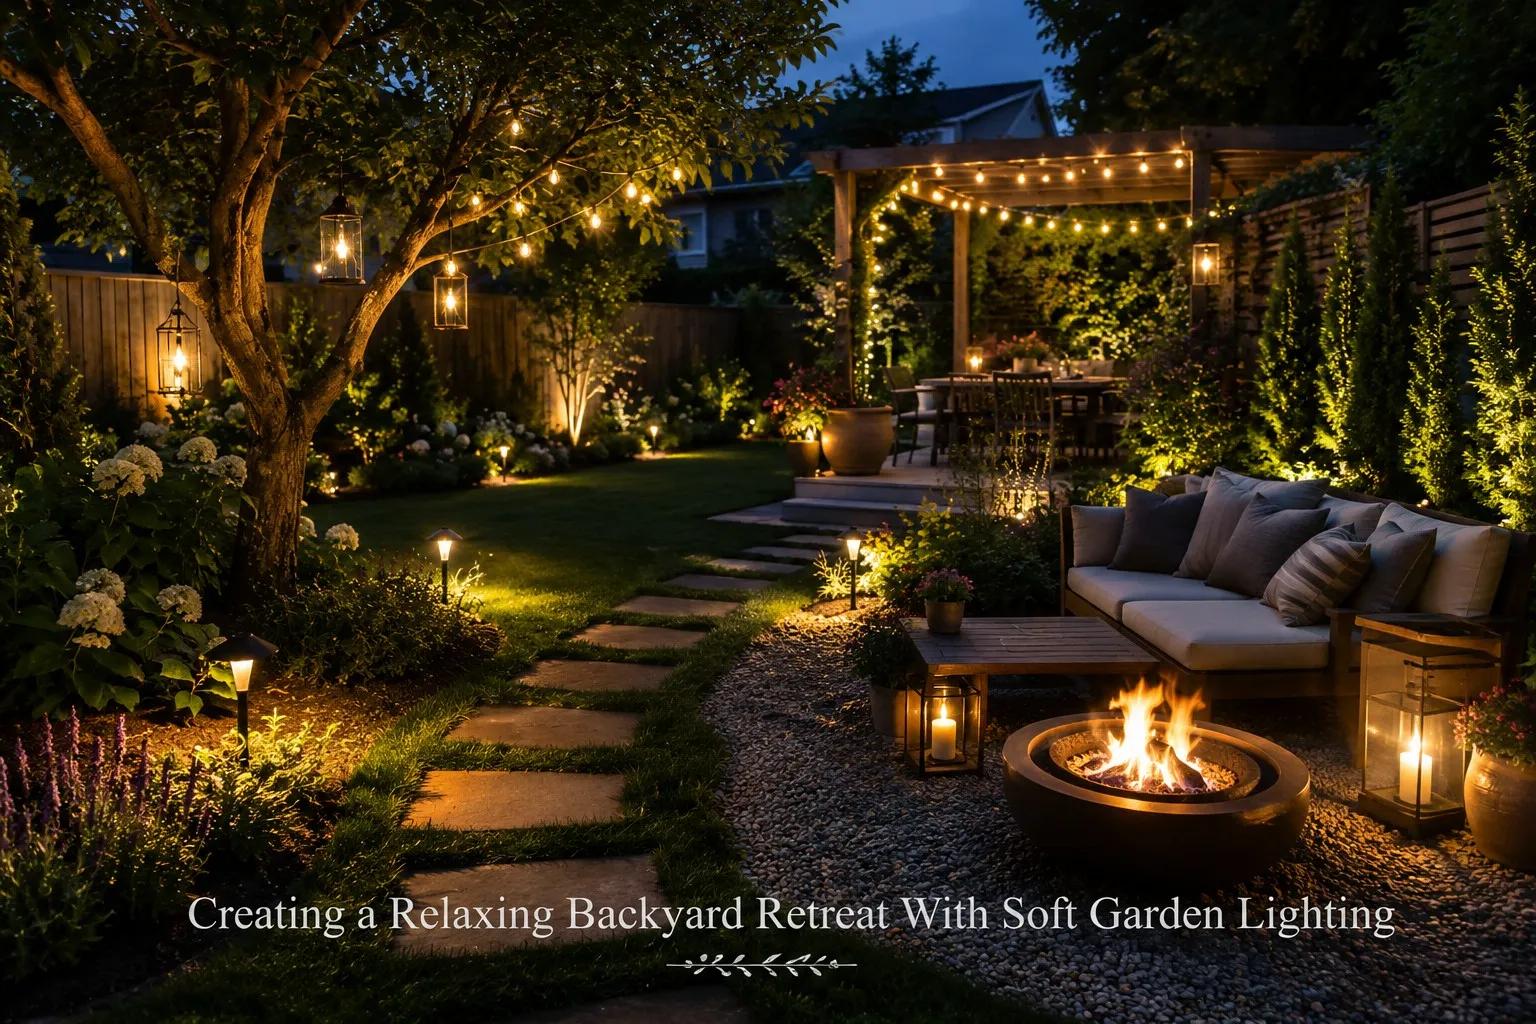
A backyard that offers rest and relaxation results from the layering of soft, low-level garden lighting that illuminates plants, paths, and seating areas. So instead of shining a single brightly floodlight mostly yard, these lights enhance the features of the yard. The secret is warm color temperature, shielded fixtures that hide the bulb itself, and together with a few small light sources placed low, an ordinary yard can be transformed into a space that feels calm and usable after dark.
What distinguishes a retreat from a parking-lot effect is going easy with lighting. Most people overlight, choosing the brightest fixtures they can find, when the eye actually relaxes in the presence of contrast between gentle pools of light and pockets of shadow. Soft garden lighting is about helping people notice certain things, not about making the dark disappear, and when you get that balance right, you'll want to spend an extra hour outside.
What Makes Garden Lighting Feel Soft Instead of Harsh
There are basically three factors that determine whether light is perceived as calm or clinical: the color temperature, the level of brightness, and how the source is visible. A warm light with color temperature in the range of 2200K to 2700K looks like candlelight or sunset and it is the kind of light that you want in the relaxing environment whereas any color temperature of 4000K and above is a bit sterile and commercial to most people. So, if a light fixture mentions its color temperature, you should go for something below 3000K and you will hardly make a mistake.
People often overestimate the role of brightness in the overall effect. For example, a path or sitting area only needs a small number of lumens to create a pleasant atmosphere and light levels of 80 to 200 lumens per fixture are usually sufficient for the lighting of a garden, In particular when considering that a typical indoor bulb has over 800 lumens. Actually, the decision to go for less light than you think is almost always correct for outdoors because as your eyes get accustomed, the darkness around does most of the work.
The act of concealing the light source is what differentiates an expert from a novice. The glaring light of a naked bulb could be quite unpleasant and it kills the mood immediately, This way the best light fixtures either shield the light or aim it away from the line of sight, lighting the leaves, the wall, or the ground instead of the eyes. You can use frosted lenses, downward-facing path lights, and fixtures placed behind plants for this purpose. When you see the effect and not the bulb, the space feels designed.
How to Layer Light Across Different Zones
Lighting a backyard works best when you do it in layers instead of illuminating the whole area evenly just like a well-designed room combines a lamp, a candle, and a bit of daylight. First you illuminate the spots where people interact, then you add the decorative details, and finally you light the paths that connect them. Each area calls for a slightly different treatment.
For sitting and eating places you want a general warming light from above which is the right place for string lights to shine. When these are hung in a canopy or in a zigzag pattern about eight to nine feet overhead, warm string lights make a ceiling of light that is cozy and intimate without making everything a flat surface below. For a 12 by 12-foot patio, usually two or three strands are enough to cover it. Indoor lanterns or even a low table light are a nice addition and they make the room suitable for a meal and a casual drink afterwards.
Foliage and trees are good candidates for the upward lighting and grazing technique. A little spotlight positioned at the foot of a tree and aimed at the crown turns it into a piece of art or sculpture at night, while a light running along a textured fence or wall brings out the shadow and depth. Since it is a matter of not falling over, paths and steps require the most functional lighting. Low bollard or stake lights spaced an average of six to eight feet apart provide enough direction without turning a walkway into a runway. The intention everywhere is to have a number of gentle moments instead of one very bright area.
Wiring, Cost, and What It Takes to Install
Low-voltage hardwired systems, solar, and plug-in setups are probably the choices that can be realistically considered for most backyards. They fit different budgets and ambitions of course. The low-voltage is the mainstay of garden lighting as it operates on a transformer that converts household power into 12 volts, which is safe to handle, allows deep burial of cables to be avoided and the ease of the addition of fixtures over time. A simple low-voltage system with a transformer and six to ten fixtures can typically be purchased for quality parts in the low hundreds of dollars range, more if you get an electrician to connect the transformer.
Solar has improved a lot and is the cheapest, simplest entry point, with no wiring at all, though output is lower and dimmer in winter or shaded spots, so it suits accent and path lighting more than primary ambient light. Plug-in string lights are the fastest win of all, often installed in an afternoon with nothing more than hooks and an outdoor-rated extension lead. Running power costs stay low across all of these because energy-efficient LED lighting draws a fraction of what old halogen garden fixtures pulled, so leaving a layered scheme on for the whole evening is cheap and the bulbs last for years rather than months.
The installation can be done during a weekend if you only need to work with low-voltage and plug-in systems and you don't mind running cables and using a few connectors. Yet, it becomes trickier when you want to have your lighting embedded in the hardscaping, powered by a new outdoor circuit, or controlled by app and dimming. In such cases, hiring a professional would be a wise decision as they would not only extend the timeline but also increase the cost. An inexpensive upgrade that can be done to the whole system is the installation of smart timers and photocells that turn on the lights automatically at dusk.
Choosing the Right Approach for Your Space and Budget
The size of your garden determines the method you will use to enhance it with light. For example, a small city courtyard, a generous suburban lawn, and a balcony each require a very different approach. For instance, in a small area, you may want to consider putting up only a single string of lights with two or three accent spots. It is likely that this will be the whole scheme, and spending more would make the place look cluttered. Compact areas deserve minimalism, and having a bright corner next to a dark one will do more than continuous lighting. Wide gardens are the ones where layering and zoning give the best results because you can illuminate a point of interest at the far end of the garden and make people want to go there, This way making the whole space seem larger and more alive at night.
People who rent or want to keep their options open should go for solar and plug-in options that can be moved around and rented out without any permanent wiring, while owners who are thinking of staying for years should choose a low-voltage system that can be expanded. The weather is also an important consideration. Parks or other damp/coastal areas should have lighting fixtures that have a moisture and corrosion resistance rating, and areas where it gets very cold will naturally take advantage of LEDs which are known to start up reliably even at low temperatures. Try spending an evening in your garden with one portable light or even with your phone flashlight, lighting up different points and playing with shadows until you find what you want to highlight and which shadows are appealing to you.