

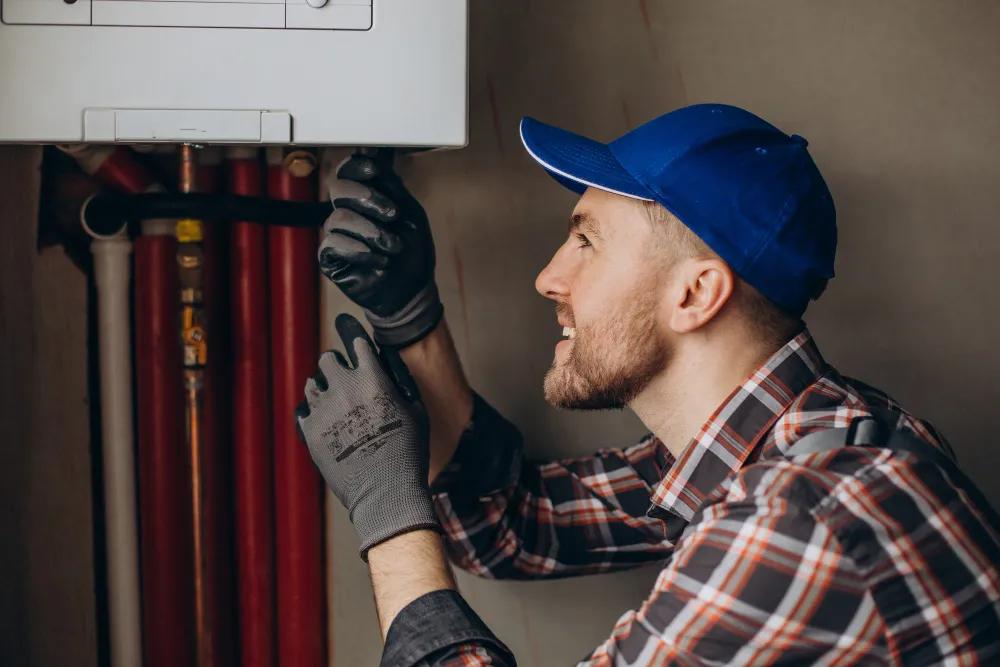
Homeowners must confirm space, electrical service, plumbing connections, drainage, and access before scheduling work for a heat pump water heater setup. A clear plan also helps identify permits, disposal needs, operating settings, and questions for the installer. The installation follows a practical sequence, from site review through testing, so each stage deserves attention before the equipment arrives.
The process begins with a site assessment. A qualified installer reviews hot-water demand, location, electrical capacity, airflow, condensate drainage, water lines, and service clearance. Anyone comparing options should learn what the heat pump water heater process looks like, because it shows which decisions should be made before installation.
Assess Household Needs
Start by recording the current household’s hot-water pattern. Note the number of occupants, peak shower periods, kitchen use, laundry demand, and recurring shortages. The record helps the installer size the replacement correctly and select a suitable operating mode.
Confirm whether the home needs a larger tank, a different recovery strategy, or changes to existing fixtures. Gather utility details, recent water-heater records, and warranty documents well before the site visit. Ask the installer early who handles permits and whether an electrician must inspect the service.
Check the Installation Site
Choose the installation area after checking its dimensions and surrounding conditions. A heat pump water heater needs enough air movement for its heat exchange cycle and clearance for filter access and future service.
Avoid closets or corners that restrict airflow unless the equipment instructions approve that arrangement. Check the floor for a stable, level base and inspect nearby walls for moisture damage. Plan a drain route for condensate and a pan where local codes require one. Keep the delivery path clear during the initial review.
Plan Electrical and Plumbing Work
Map the electrical and plumbing changes before booking the installer. Review the panel capacity, circuit location, disconnect requirements, and wire routing with a licensed electrician. The water connections need accessible shutoff valves, correctly sized lines, and secure fittings.
Plan the temperature and pressure relief discharge route according to local requirements. Identify the condensate drain point, then confirm that its slope and termination prevent standing water. Ask the installer which materials the homeowner must supply and which tasks require a trade license. Document agreed-upon changes in writing before work begins and before any purchase decision.
Schedule Permits and Delivery
Contact the local building department before scheduling work, because permit rules differ by jurisdiction. Confirm whether plumbing, electrical, or equipment permits apply and whether an inspection will be done after installation.
Arrange delivery after the installer confirms the room and access route. Protect finished floors and remove obstacles along the path. Plan for temporary hot water disruption, and decide how the old heater will leave the property. Keep manuals, model information, and permit paperwork together for future service with the installer.
Prepare for Installation Day
Before work starts, photograph existing connections and note valve positions. The installer should verify the delivered unit, inspect it for shipping damage, and compare its specifications with the approved plan.
Do not reconnect electrical wiring or water lines without qualified help. After removal, the installer secures the new unit, connects plumbing, completes electrical work, and installs required drainage components. Request an explanation of shutoff points before the first heating cycle.
Verify Commissioning and Operation
Commissioning should include a leak check, electrical verification, drainage test, and a review of operating controls. The installer should confirm that the unit heats water, moves air freely, and does not produce unusual noises or vibrations.
Ask about temperature settings, vacation mode, filter cleaning, and warning indicators. Record the model and serial numbers, installation date, and service contact. Inspect the area again after the first heating cycle for leaks or condensate problems. Keep the manual where household members can find it. If the system does not perform as expected, stop use and request service.
Conclusion
Good planning reduces delays because the installer receives clear information about demand, site conditions, and required trades. The homeowner should complete a written checklist before delivery, confirm permits, clear the access route, and reserve time for commissioning. After installation, record settings and maintenance instructions, then watch the first heating cycle. The next practical step is a site visit with a qualified installer, using existing heater and utility records to shape the plan for later reference.