

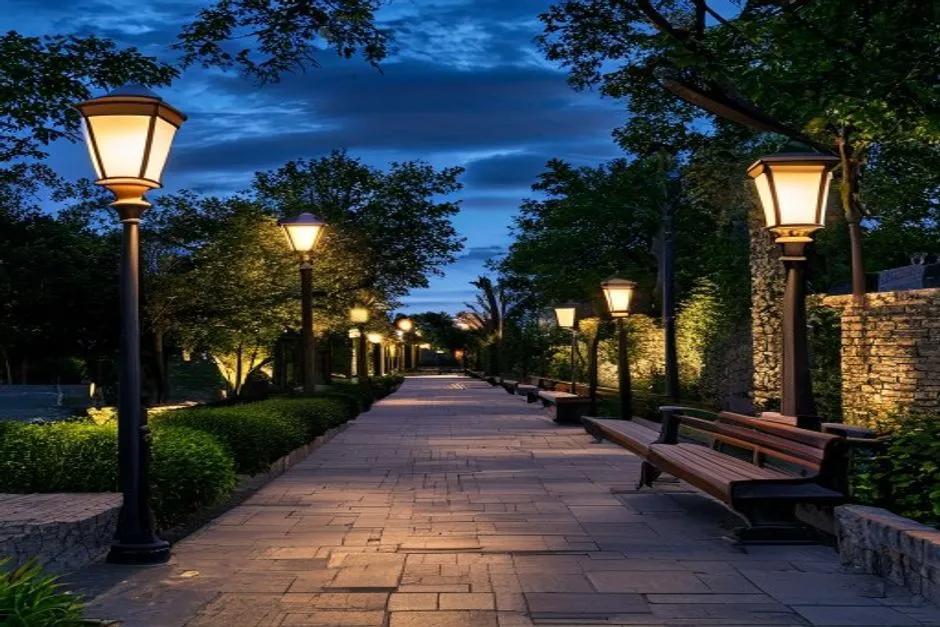
Landscape lighting has evolved from a simple afterthought into one of the most transformative elements in modern outdoor design. What once served purely functional purposes—illuminating a walkway or deterring intruders—now shapes the entire emotional experience of a space. Today's lighting designs define architectural character, establish mood, guide movement through landscapes, and extend the usable hours of outdoor environments well into the night. For design professionals, this evolution presents both opportunity and challenge. Client expectations have grown increasingly sophisticated, demanding installations that blend seamlessly with hardscape and softscape while incorporating smart technology and energy efficiency. Meanwhile, the pace of innovation in LED performance, fixture engineering, and control systems continues to accelerate. Staying current requires more than browsing manufacturer catalogs; it demands a working knowledge of emerging aesthetic philosophies, material science, and installation best practices. This article serves as a comprehensive guide to the latest trends shaping landscape lighting, offers practical frameworks for selecting high-performance products, and delivers actionable installation insights that help professionals achieve superior project outcomes consistently.
Demystifying the Latest Trends in Landscape Lighting Design
The most significant shift in landscape lighting philosophy centers on layered design—a strategy borrowed from interior lighting that applies ambient, task, accent, and decorative layers to outdoor environments. Rather than flooding a garden with uniform illumination, professionals now compose scenes where each layer serves a distinct purpose. Ambient lighting establishes the overall brightness level through soft washes on walls or canopy-mounted downlights. Task lighting addresses functional needs at cooking stations, seating areas, or reading nooks. Accent lighting draws attention to specimen trees, sculptures, or water features using tightly focused beams. Decorative fixtures—lanterns, pendants, or illuminated planters—add personality and visual interest as design objects in their own right.
Two techniques gaining particular momentum are moonlighting and silhouetting. Moonlighting involves mounting fixtures high in mature trees, angling soft beams downward to replicate the dappled quality of natural moonlight filtering through branches. The effect feels organic rather than engineered, creating gentle shadow play across lawns and patios. Silhouetting places a light source behind a plant or architectural element, projecting its outline against an adjacent wall or surface. This technique transforms ordinary hedges or ornamental grasses into dramatic focal points after dark.
Color temperature preferences have shifted decisively toward warmer tones, typically in the 2700K to 3000K range. Clients respond to the intimacy and comfort these temperatures convey, associating cooler whites with commercial or institutional settings. Fixture design itself trends toward minimalism—recessed housings, ultra-slim profiles, and finishes that disappear into their surroundings so the light itself becomes the feature, not the hardware.
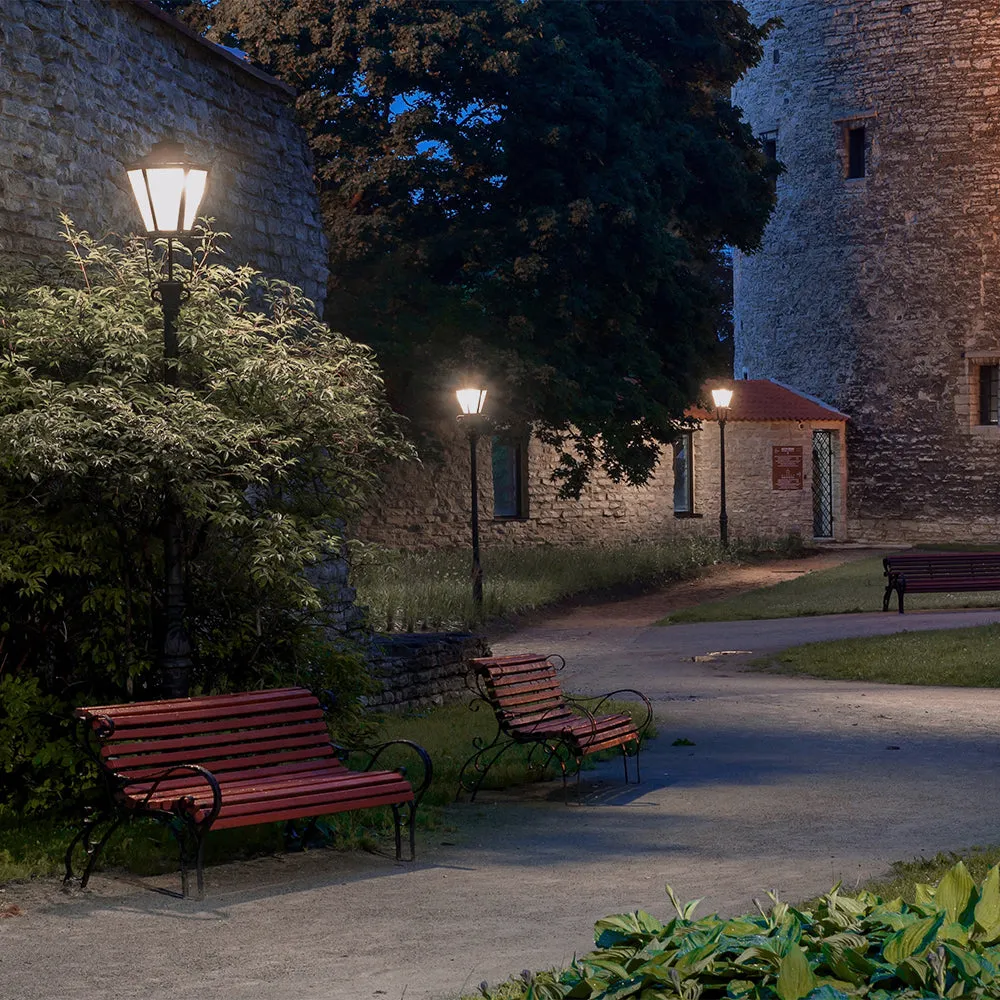
Dark sky compliance has moved from niche concern to mainstream expectation. Municipalities increasingly mandate shielded, downward-directed fixtures that minimize light trespass and sky glow. For professionals, this means selecting fully shielded luminaires with precise optical control. The client benefit is twofold: compliance avoids code violations, while reduced glare actually improves the perceived quality of illumination, making landscapes appear more refined and comfortable rather than overlit.
Selecting the Best Products: A Guide for Landscape Professionals
Translating design trends into tangible results requires disciplined product selection. The gap between a mediocre installation and an exceptional one often comes down to fixture quality, material integrity, and optical performance rather than design intent alone. Professionals who develop a rigorous evaluation framework save time, reduce callbacks, and deliver installations that perform beautifully for decades.
Material selection forms the foundation of fixture longevity. Cast bronze and solid copper remain the gold standard for in-ground and accent fixtures because they develop a natural patina rather than corroding destructively. Marine-grade aluminum offers a lighter, more cost-effective alternative that resists oxidation when properly powder-coated, making it suitable for wall-mounted and overhead applications where weight matters. Stainless steel works well in coastal environments but demands a grade of 316 or higher to withstand salt exposure. Avoid painted steel or plastic housings in any permanent landscape application—they deteriorate within a few seasons, undermining both aesthetics and client trust.
LED technology has matured considerably, but not all chips perform equally. Prioritize fixtures with a Color Rendering Index of 90 or above, which ensures that plant foliage, stone textures, and architectural finishes appear vivid and true to their daytime appearance. Evaluate lumen output relative to beam spread; a tightly focused 300-lumen spot creates more visual impact on a feature tree than a wide-flood 600-lumen fixture washing an entire bed. Longevity claims vary, so look for fixtures backed by driver warranties of at least seven years and LED modules rated beyond 50,000 hours at L70 maintenance. Manufacturers like Hyperlite have contributed to raising industry standards by offering high-output LED fixtures with robust thermal management, making it easier for professionals to source reliable components. Lens options—clear, frosted, honeycomb louvers, and hex-cell baffles—give precise control over spread and glare, allowing you to match the optical profile to each application without changing the fixture body itself.
Essential Fixtures for Modern Projects: Pathway Lights & Step Lights
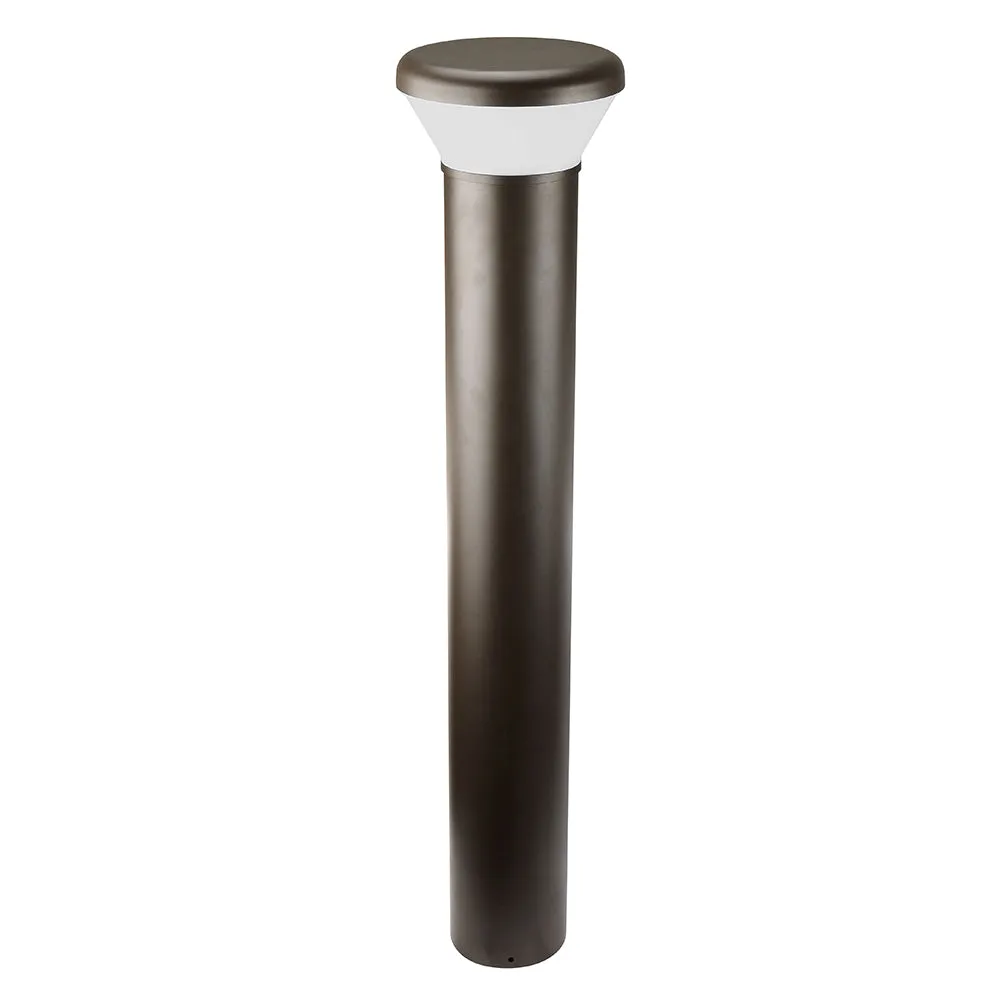
Pathway lights anchor the navigational framework of any landscape, and choosing the right style depends on the design language of the project. Bollard-style fixtures suit contemporary and commercial settings with their clean vertical profiles, casting light from a height that illuminates broader swaths of hardscape. Mushroom or hat-style fixtures work better in residential and naturalistic gardens because their shielded tops direct light downward in a soft pool, reducing visual clutter. For spacing, a general guideline places fixtures eight to ten feet apart along straight runs, tightening to six feet on curves or where grade changes reduce forward visibility. The goal is overlapping pools of light that create a continuous sense of guidance without hot spots or dark gaps.
Beam selection matters more than many designers realize. A diffused lens produces a gentle wash ideal for wide flagstone paths, while a focused beam with a honeycomb louver works better for narrow stepping-stone sequences where precision prevents light from spilling onto adjacent planting beds. Regardless of style, specify fixtures with an IP65 rating or higher to ensure sealed protection against driven rain and soil moisture intrusion.
Step lights address one of the highest-liability zones in any landscape. Recessed options integrate flush into risers or adjacent walls, providing a clean architectural look that avoids protruding hardware on treads where foot traffic could damage fixtures. Surface-mounted step lights offer easier retrofit installation on existing masonry or timber stairs. Place fixtures on every second or third riser for residential applications, or on every riser where code requires minimum illuminance levels of one foot-candle on tread surfaces. Position the light source at ankle height on the riser face so it grazes across the tread, revealing the edge clearly without shining upward into eyes. For long stairway runs, alternating sides prevents monotony and ensures both edges of the tread receive adequate illumination.
The Critical Role of Outdoor Safety Lighting
Safety lighting protects occupants and limits liability, yet it need not compromise design elegance. The key zones demanding dedicated safety consideration include stairs and elevation changes, pathway intersections, pool and water feature perimeters, driveways, and property entry points where visitors transition from public to private space. Each zone requires sufficient illumination to reveal obstacles, changes in grade, and surface conditions without creating blinding glare that actually worsens visibility.
Technical solutions integrate easily into a cohesive lighting plan. Motion sensors activate supplemental fixtures at entry gates and side yards, providing full brightness only when needed and conserving energy during unoccupied hours. Photocells automate dusk-to-dawn operation so safety lighting never depends on a homeowner remembering to flip a switch. Beam angle selection proves critical—fixtures aimed below 60 degrees from vertical minimize direct glare while still covering the intended surface area. Wall-wash fixtures mounted at eight to ten feet effectively illuminate broad entrance zones, while recessed path lights handle linear walkways without visual noise.
The most successful safety lighting feels invisible within the broader composition. Achieve this by using the same color temperature and fixture family throughout the project, adjusting only intensity and beam width to meet safety requirements. When safety fixtures share the design vocabulary of accent and ambient layers, the entire system reads as intentional rather than patched together after the fact.
Step-by-Step Guide to Successful Landscape Lighting Installation
Even the most thoughtfully designed lighting plan fails if installation execution lacks precision. A systematic approach ensures that every fixture performs as intended, connections remain watertight for years, and the final reveal matches the vision presented during design development. The following framework addresses each phase from initial consultation through final client walkthrough.
Project planning begins with a detailed client conversation that goes beyond aesthetic preferences. Identify how the family uses outdoor spaces at different times of year, where security concerns exist, which architectural or botanical features deserve emphasis, and what budget constraints shape fixture tier selection. Document these priorities in a written scope that both parties sign before design work begins. This prevents scope creep and establishes clear expectations around deliverables.
Site analysis translates those goals into a physical plan. Walk the property at night with a handheld flashlight to test angles, shadows, and potential glare points before committing to fixture locations. Create a scaled lighting layout that maps every fixture position, notes beam angles, specifies mounting heights, and identifies home-run wire paths back to the transformer. This document becomes the installation crew's roadmap and the client's reference for future maintenance or expansion.
Technical decisions anchor system reliability. Low-voltage systems operating at 12 or 15 volts dominate residential landscape work because they eliminate shock hazards and simplify permitting. Transformer sizing requires calculating total connected wattage, then adding 20 percent capacity headroom for future additions. Wire gauge selection depends on run length—longer distances demand heavier gauge conductors to prevent voltage drop that dims fixtures at the end of a circuit. Keep voltage loss below one volt across any single run by using 10-gauge wire for distances beyond 50 feet or by splitting loads across multiple taps on a multi-tap transformer.
Procurement deserves deliberate attention. Order fixture samples before committing to full quantities so you can evaluate build quality, color temperature consistency, and beam characteristics in person rather than relying solely on specification sheets. Establish relationships with distributors who stock replacement parts and offer technical support, because a fixture without accessible components becomes a liability once it needs service five years into its life.
Installation technique determines long-term durability. Trench wire runs six to eight inches deep in continuous conduit or direct-burial cable rated for underground use. Secure all connections inside waterproof junction hubs filled with silicone-based sealant rather than relying on wire nuts wrapped in electrical tape, which inevitably admits moisture. Stake fixtures firmly using manufacturer-provided ground mounts, and set in-ground wells on a gravel drainage bed to prevent water pooling around the housing. Dress cables neatly along structures using UV-resistant clips that prevent sagging or abrasion over time.
Final aiming transforms a mechanical installation into a designed experience. Wait until full darkness, then adjust each fixture individually while viewing the scene from primary vantage points—the kitchen window, the patio seating area, the approach from the driveway. Tighten lock screws only after confirming angle and brightness satisfy the design intent. Conclude with a client walkthrough that explains zone controls, dimming options, timer programming, and seasonal maintenance such as trimming vegetation that may eventually obstruct beam paths.
Mastering the Triad of Design, Product Selection, and Installation Excellence
The landscape lighting profession stands at a compelling intersection where artistic vision, technical precision, and evolving technology converge. The trends explored here—layered compositions, warm color temperatures, dark sky compliance, and minimalist fixture design—represent more than passing fashion. They reflect a deeper understanding of how light shapes human experience in outdoor environments. Pairing that design intelligence with disciplined product selection ensures installations that perform beautifully across seasons and decades rather than degrading into maintenance headaches. Cast bronze housings, high-CRI LEDs, and properly rated optics form the material backbone that supports creative ambition. And none of it matters without meticulous installation: proper voltage management, waterproof connections, precise aiming, and thorough client education at project completion. Design professionals who master this triad—trend-informed design, rigorous product evaluation, and exacting field execution—consistently deliver projects that elevate property value, strengthen client relationships, and build reputations worth referencing. As LED efficiency continues improving, control systems grow more intuitive, and sustainable design principles reshape client expectations, the discipline will keep evolving. The professionals who thrive will be those who treat landscape lighting not as a static skill set but as a living practice demanding curiosity, experimentation, and continuous refinement.