

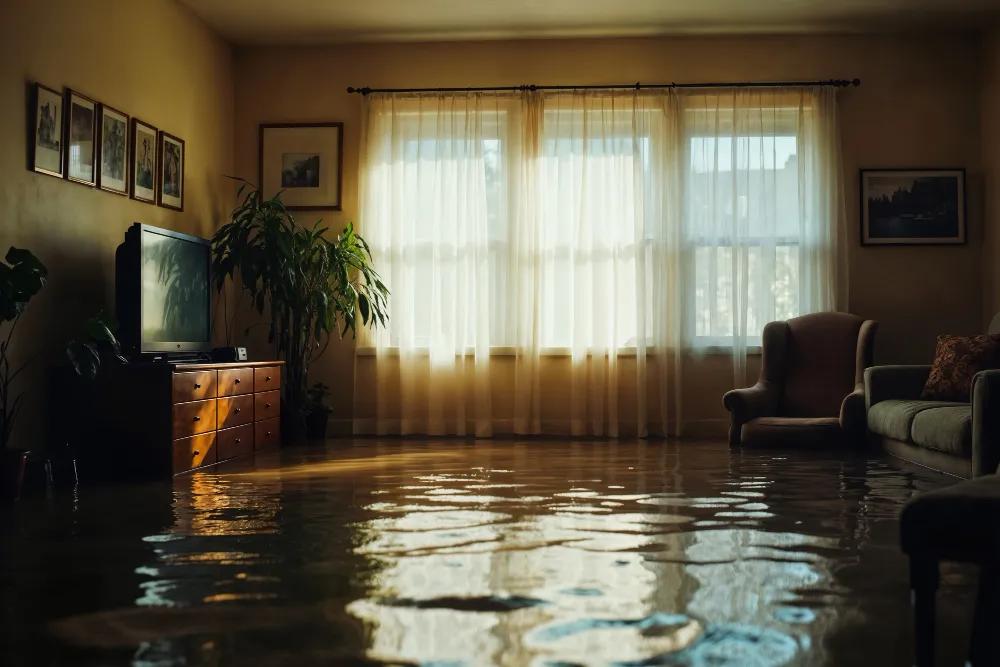
Water damage creates an unusual kind of stress. A familiar room suddenly feels uncertain, everyday routines stop, and every wet surface seems to demand attention at once. The quickest response is not always the most frantic one, however. It is the one that puts safety first and follows a clear order.
The first 24 to 48 hours are especially important because wet materials need prompt attention. The U.S. Environmental Protection Agency recommends drying wet or damp materials within 24 to 48 hours when possible to help prevent mold growth. That does not mean every household should rush into a damaged room with a fan and a mop. It means the source, hazards, and extent of the moisture should be addressed without unnecessary delay.
Here is a practical way to move from the first discovery toward a safer, more organized recovery.
Step 1: Make the Area Safe Before Saving Belongings
Begin with people, not property. Do not enter an area if water may be in contact with electrical outlets, appliances, or the electrical panel. Stay out if the ceiling is sagging, the floor feels unstable, or the water came from a sewer backup or outdoor flooding.
If it is safe and straightforward, stop the source by closing a local valve or the main water supply. Do not take risks to reach it. A burst supply line is urgent, but an injury or electrical shock turns one emergency into two.
Children, older adults, people with asthma or weakened immune systems, and pets should remain away from areas with visible mold or contaminated water. Cleanup conditions can expose people to dust, chemicals, sharp objects, and microorganisms even when the room looks manageable.
Step 2: Document What Happened
Before moving furniture or removing damaged materials, take wide and close-up photos. Capture the likely source, the water line, affected walls and flooring, damaged belongings, and any rooms below or beside the incident.
Make a short written timeline while the details are fresh:
- When was the water first noticed? - Was the source stopped, and at what time? - Which rooms or levels were affected? - Did the water come from a clean supply line, an appliance, a drain, or outside flooding? - Were any emergency repairs made?
Contact the insurance company when the loss may be covered. The insurer can explain notification requirements and what documentation it wants preserved. Avoid discarding major items until the company or restoration professional has advised you, unless leaving them in place creates a safety risk.
Step 3: Remove Water Without Spreading the Problem
For a small amount of clean water in a safe area, towels, a wet vacuum rated for water, and careful removal of movable items may help. Larger losses, hidden water, contaminated water, or water that has reached multiple rooms call for professional assessment.
Move dry belongings away from the affected area. Place furniture legs on blocks or foil if the furniture must remain temporarily on a damp surface. Wet cardboard should be emptied quickly because it loses strength and can hold moisture against its contents.
Be cautious with air movement. Fans can support drying after the source and conditions are understood, but they should not be used to blow across visible mold or contaminated material. Doing so may move particles into other parts of the home.
Step 4: Look Beyond the Surface
One of the most reassuring — and misleading — moments is when the floor feels dry again. Moisture can remain beneath flooring, behind baseboards, inside wall cavities, under cabinets, or in insulation.
Check nearby areas for clues such as:
- swelling or lifting at floor seams; - soft drywall or peeling paint; - damp trim or cabinet toe kicks; - a musty odor that was not present before; - water stains in the room below; - condensation or persistent humidity after surface cleanup.
Touch and sight alone cannot confirm that a building assembly is dry. Restoration professionals use moisture meters, humidity readings, thermal imaging as a screening tool, and direct inspection to map the affected area and track drying progress.
Step 5: Create a Controlled Drying Environment
Successful drying balances air movement, dehumidification, and temperature. Opening windows may help in dry outdoor conditions, but it can slow the process when outside air is humid. Household fans may move air without removing enough moisture from it. A room can therefore feel cooler and less damp while wet materials continue releasing water into the air.
Remove only materials that can be handled safely and that do not need to be preserved for inspection. Avoid painting over stains, replacing baseboards, or closing wall openings before the underlying materials have been evaluated. Covering damp materials can trap the problem and make later repairs more disruptive.
The aim is not to make the room look normal as quickly as possible. It is to return the affected materials and indoor environment to an appropriate dry condition before cosmetic work begins. When water has reached more than an easily accessible surface, professional water removal and structural drying can help address the visible loss while checking materials that are harder to reach.
Step 6: Prevent Mold by Correcting Moisture, Not Masking It
Mold prevention starts with moisture control. Fragrance sprays, stain-blocking paint, and surface bleach do not fix an active leak or dry a wall cavity. The source must be repaired, wet materials must be dried or removed as appropriate, and indoor humidity must be managed.
Never mix bleach with ammonia or other household cleaners. The combination can create dangerous fumes. If visible mold covers a large area, keeps returning, appears inside heating or cooling equipment, or follows contaminated water, stop and seek qualified guidance rather than disturbing it.
Routine home mold testing is not always the first useful step. When dampness or visible growth is already present, finding and correcting the moisture source usually matters more than trying to identify a species before cleanup begins.
Step 7: Know When Professional Help Is the Sensible Choice
A restoration company is worth calling when water has spread beyond a small, accessible surface; entered walls, ceilings, insulation, or flooring layers; remained undiscovered; or may be contaminated. Professional help is also appropriate when electrical or structural concerns are present, mold is visible, or the household cannot safely move affected materials.
Homeowners in Burien and nearby South King County communities can contact Total Dry Restoration's restoration team for water removal, drying, cleanup, documentation, and repairs when a loss needs a coordinated response.
Ask any provider to explain what it found, which materials are wet, how drying will be measured, what may need removal, and how progress will be documented. Clear answers help a stressful situation feel manageable and make it easier to understand the next decision.
A Steady Response Protects More Than the Room
The first 48 hours are not about making perfect decisions under pressure. They are about making the next safe decision in the right order: protect people, stop the source, document the loss, remove water, check for hidden moisture, and verify drying before repairs cover the area.
That calm sequence protects the home, but it also protects the household from unnecessary confusion. When each step has a purpose, recovery becomes less like a scramble and more like a plan.