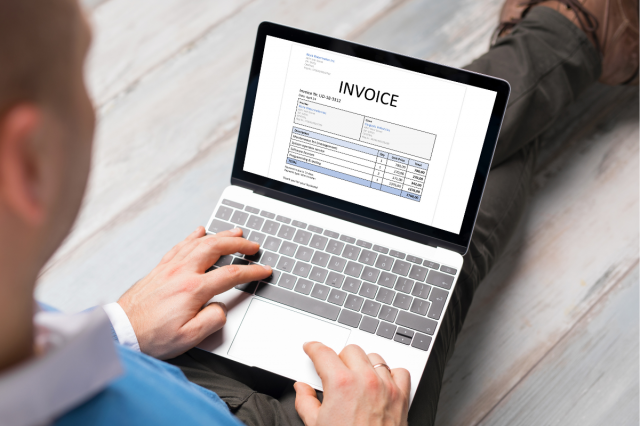
Freelancing offers flexibility and independence, but it also comes with its challenges—one of the biggest being getting paid on time. A professional and well-structured invoice is key to ensuring smooth payments, maintaining good client relationships, and keeping your finances in order. In this guide, we'll walk you through the steps of creating and sending invoices as a freelancer, along with tips and tools to make the process easier.
Why Sending Professional Invoices Matters
As a freelancer, your invoice is more than just a request for payment—it's a reflection of your professionalism. A clear and detailed invoice builds trust with your clients by outlining the exact terms of payment. It also protects you in case of disputes and simplifies your financial record-keeping, especially during tax season.
For instance, if you're considering becoming a freelance writer, mastering the art of invoicing is essential. Freelance writing often involves juggling multiple clients and projects, making accurate invoicing critical for managing your income. Sending a professional invoice ensures you get paid accurately and on time, paving the way for better client relationships and a steady writing career.
Essential Components of a Freelancer Invoice
A well-crafted invoice contains all the necessary details to avoid confusion and streamline payments. Here are the key components you should include:
- Your Business Information: Include your name, business name (if applicable), address, phone number, and email.
- Client Details: Add the client's name, business name, and address to clearly identify who the invoice is for.
- Invoice Number: Assign a unique invoice number for tracking and organization.
- Description of Services: Provide a concise breakdown of the services rendered, including dates, project names, or tasks completed.
- Payment Terms: Clearly state the due date, late fees (if applicable), and any other payment policies.
- Total Amount Due: Include a detailed breakdown of charges, taxes, and discounts, if any.
- Payment Methods: Specify the accepted payment options, such as bank transfer, PayPal, or other platforms.
Including all these elements ensures your invoice is professional and leaves no room for miscommunication.
Steps to Create and Send an Invoice
1. Gather Required Information
Before you start, collect all the details you need, such as the agreed-upon rate, payment terms, and project scope. Refer back to your client contract or communication for specifics.
2. Choose an Invoice Tool or Template
There are various tools to make invoicing easier. If you're looking for a simple and free option, you can use Google Docs or Microsoft Word to customize an invoice template. For more advanced features, consider tools like Portant, FreshBooks, or Wave, which allow you to automate invoicing, track payments, and send reminders.
3. Fill Out the Invoice
Start by entering your business and client information. Add a detailed description of the work completed, ensuring clarity for the client. Use accurate calculations for charges, taxes, and discounts. Don't forget to include your payment terms and preferred methods.
4. Double-Check Details
Review the invoice carefully for errors. A small typo or miscalculation can cause delays in payment or lead to confusion. Ensure all information is correct, including the due date and client details.
5. Send the Invoice
Attach the invoice to an email or send it through a client management system. Write a brief and polite note in the email to provide context, such as:
“Hi [Client's Name],
I hope this message finds you well. Please find attached the invoice for [Project/Service Name]. Let me know if you have any questions. Looking forward to your confirmation.
Best regards, [Your Name].”
Best Practices for Freelancers
To make invoicing efficient and hassle-free, follow these best practices:
- Send Invoices Promptly: Don't delay sending invoices. As soon as you complete a project or milestone, send your invoice to ensure timely payment.
- Be Clear and Concise: Use simple language and break down charges to avoid confusion. Avoid jargon or overly complicated formatting.
- Set Realistic Payment Deadlines: Most freelancers set a 7-, 14-, or 30-day payment window, depending on the agreement.
- Follow Up Politely: If payment isn't received by the due date, send a friendly reminder. Sometimes clients simply forget or miss the invoice email.
- Maintain Professionalism: Even if payments are delayed, remain polite and professional in your communication.
Recommended Tools for Freelancers
Using the right tools can save you time and ensure accuracy. Here are some popular options:
- Portant: Automates the process of generating invoices from Google Docs and integrates seamlessly with your CRM.
- FreshBooks: A comprehensive invoicing and accounting software designed for freelancers and small businesses.
- Wave: Offers free invoicing, accounting, and receipt tracking tools.
- Google Docs Templates: Perfect for creating customized invoices without any additional costs.
Each of these tools caters to different needs, so choose one that aligns with your business processes.
Troubleshooting Common Issues
Even with a perfect invoice, challenges can arise. Here's how to tackle them:
- Late Payments: Send a polite follow-up email or reminder. If the delay continues, consider implementing late fees as part of your terms for future clients.
- Disputes Over Charges: Refer to your contract or agreed-upon terms to clarify any misunderstandings. Maintain open and professional communication.
- International Payments: Use payment platforms that handle currency conversions and international transactions, such as PayPal or Wise. Make sure to discuss these details with your client upfront.
Conclusion
Sending a professional invoice is a critical part of freelancing. It ensures you get paid on time, maintains trust with your clients, and simplifies financial management. By following the steps and best practices outlined in this guide, you can create and send invoices with confidence.


