Are you looking for a convenient movie maker app? You’ve come to the right place! Today, we’d like to introduce you to MiniTool MovieMaker, the best video maker app for both novices and professionals. Read on for a basic description of the app and a step-by-step instruction for using it to create visually appealing videos.
MiniTool MovieMaker - Basic Understanding
MiniTool MovieMaker is one of the best movie maker apps running on Windows devices. Its intuitive interface and powerful editing tools help users make and edit outstanding videos or movies that are loved by everyone.
One of the features that sets MiniTool MovieMaker apart is its multi-track editing, which allows you to create PIP and split-screen effects. Plus, you can quickly achieve the desired effects for the clips you are editing by entering specific values.
With this free Windows movie maker, you can add audio, text, transitions, effects, filters, animated elements, and motions to your videos in just a few clicks. Furthermore, it enables you to perform other actions on your movies, including trim, split, crop, speed up or slow up, reverse, flip or rotate, etc.
How to Make a Visually Compelling Video with MiniTool MovieMaker
MiniTool MovieMaker simplifies and improves video editing, thanks to its drag-and-drop, timeline, and playhead capabilities. With the help of these tools, even inexperienced users can generate professional-looking videos with minimal effort.
Here is a step-by-step instruction for editing a video using MiniTool MovieMaker.
Step 1. Launch MiniTool MovieMaker and Import Footage
First things first, go to the MiniTool MovieMaker homepage and get its installation package. To install the video maker app on your computer, open the installation package and follow the on-screen prompts.
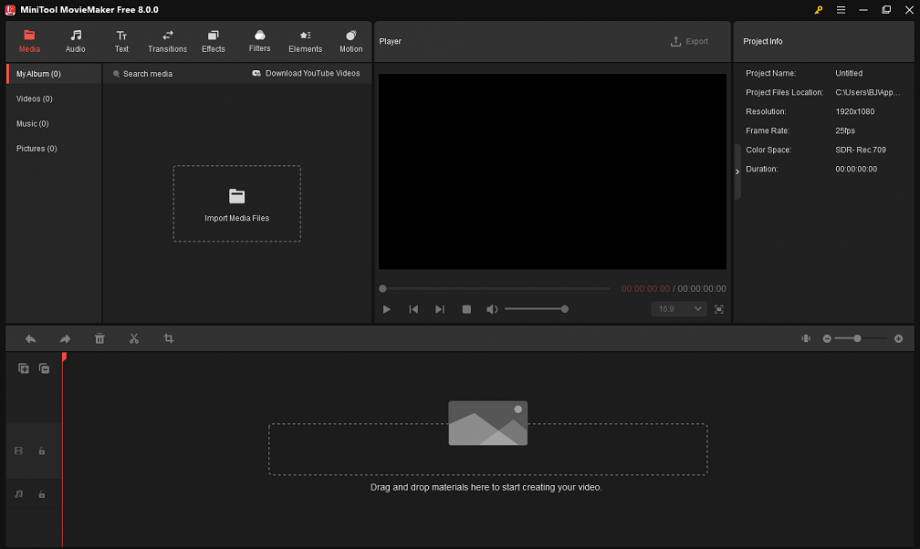
Then, launch MiniTool MovieMaker and select New Project in the promotion window to start editing. Click the Import Media Files button to import the videos or photos from your device to its media library.

Step 2. Add Footage to the Timeline
Drag and drop imported videos or photos onto the video track in the timeline area. Or add them by clicking the + icon at the bottom right of the thumbnails.
Step 3. Pick the Appropriate Audio
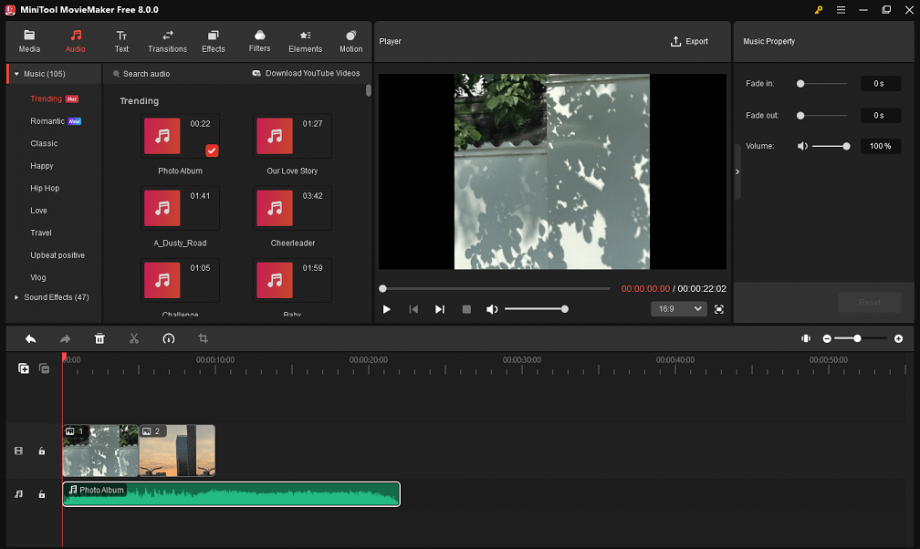
Next, navigate to Audio > Music to find and download the music you prefer. Optionally, you can select Sound Effects to find and download the desired one. You can even import a local song by clicking Media > Import Media Files.
Now, drag and drop the audio file of your choice onto the audio track positioned underneath the video track.

Step 4. Make Additional Edits to the Project
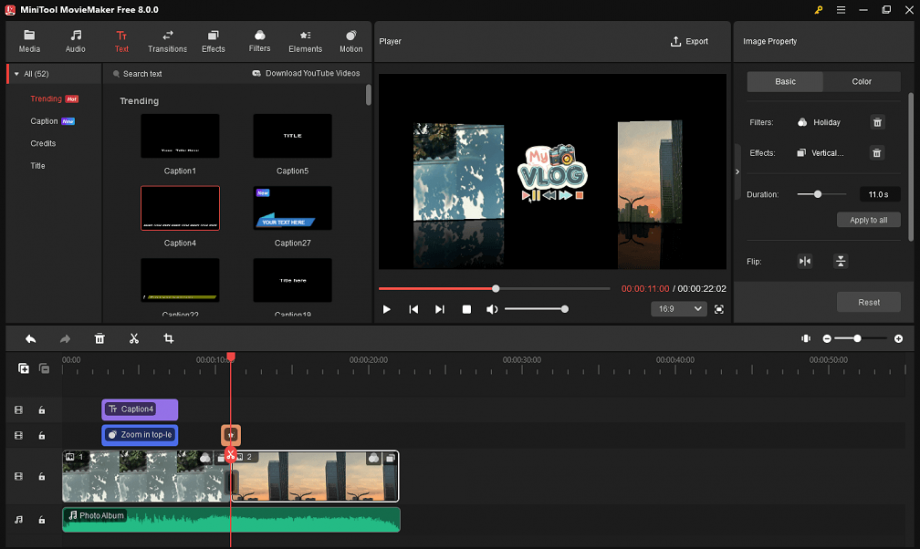
- You can choose to access Text, Transitions, Effects, Filters, Elements, and Motion to find, download, and add corresponding video effects to make your project more attractive.
- Click on the target clip on the timeline and use the Trim, Split, Speed, or Crop tools to make the appropriate changes to it.
- Highlight the target video/image/music on the timeline and do the relevant actions from Video Property / Image Property / Music Property.

Step 5. Export the Edited Project
When you’re happy with what you’ve done, click Export at the top right to make some output settings, like setting the video format, resolution, frame rate, etc. Finally, click the Export button at the bottom to save the edited project to your computer.
Conclusion
As you can see, MiniTool MovieMaker is a straightforward and versatile movie maker app that helps you create and edit great videos or movies in no time. Have a go now and make your projects stand out from the crowd!


