

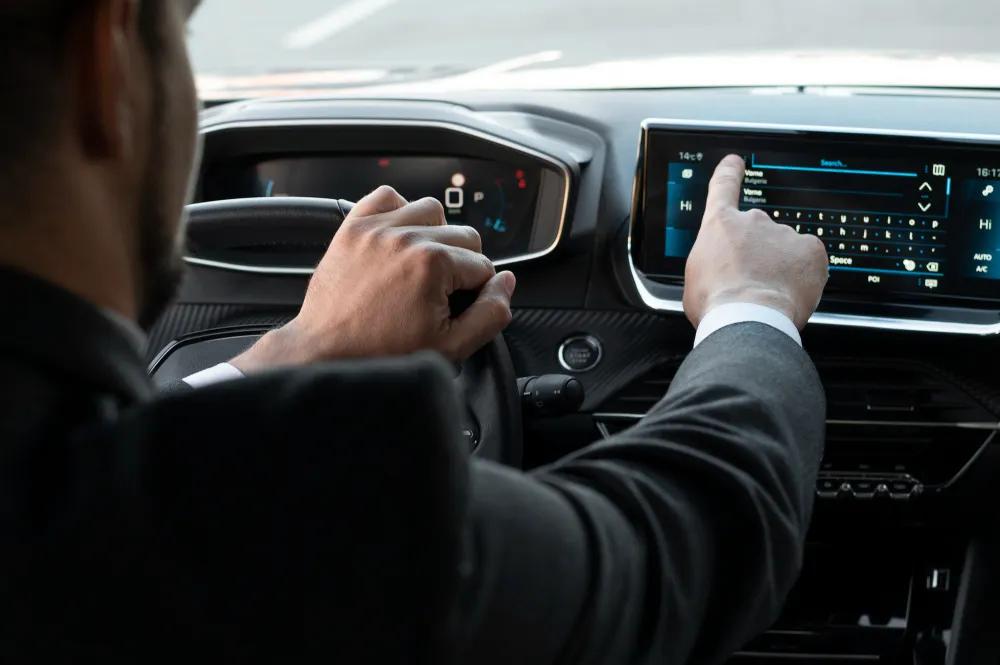
Standard Mercedes CarPlay systems are impressive out of the box, but they come with real limitations — locked interfaces, restricted customization, and display quality that leaves enthusiasts wanting more. If you've ever wished your infotainment screen could do more, look sharper, or simply reflect your personal style, you're not alone.
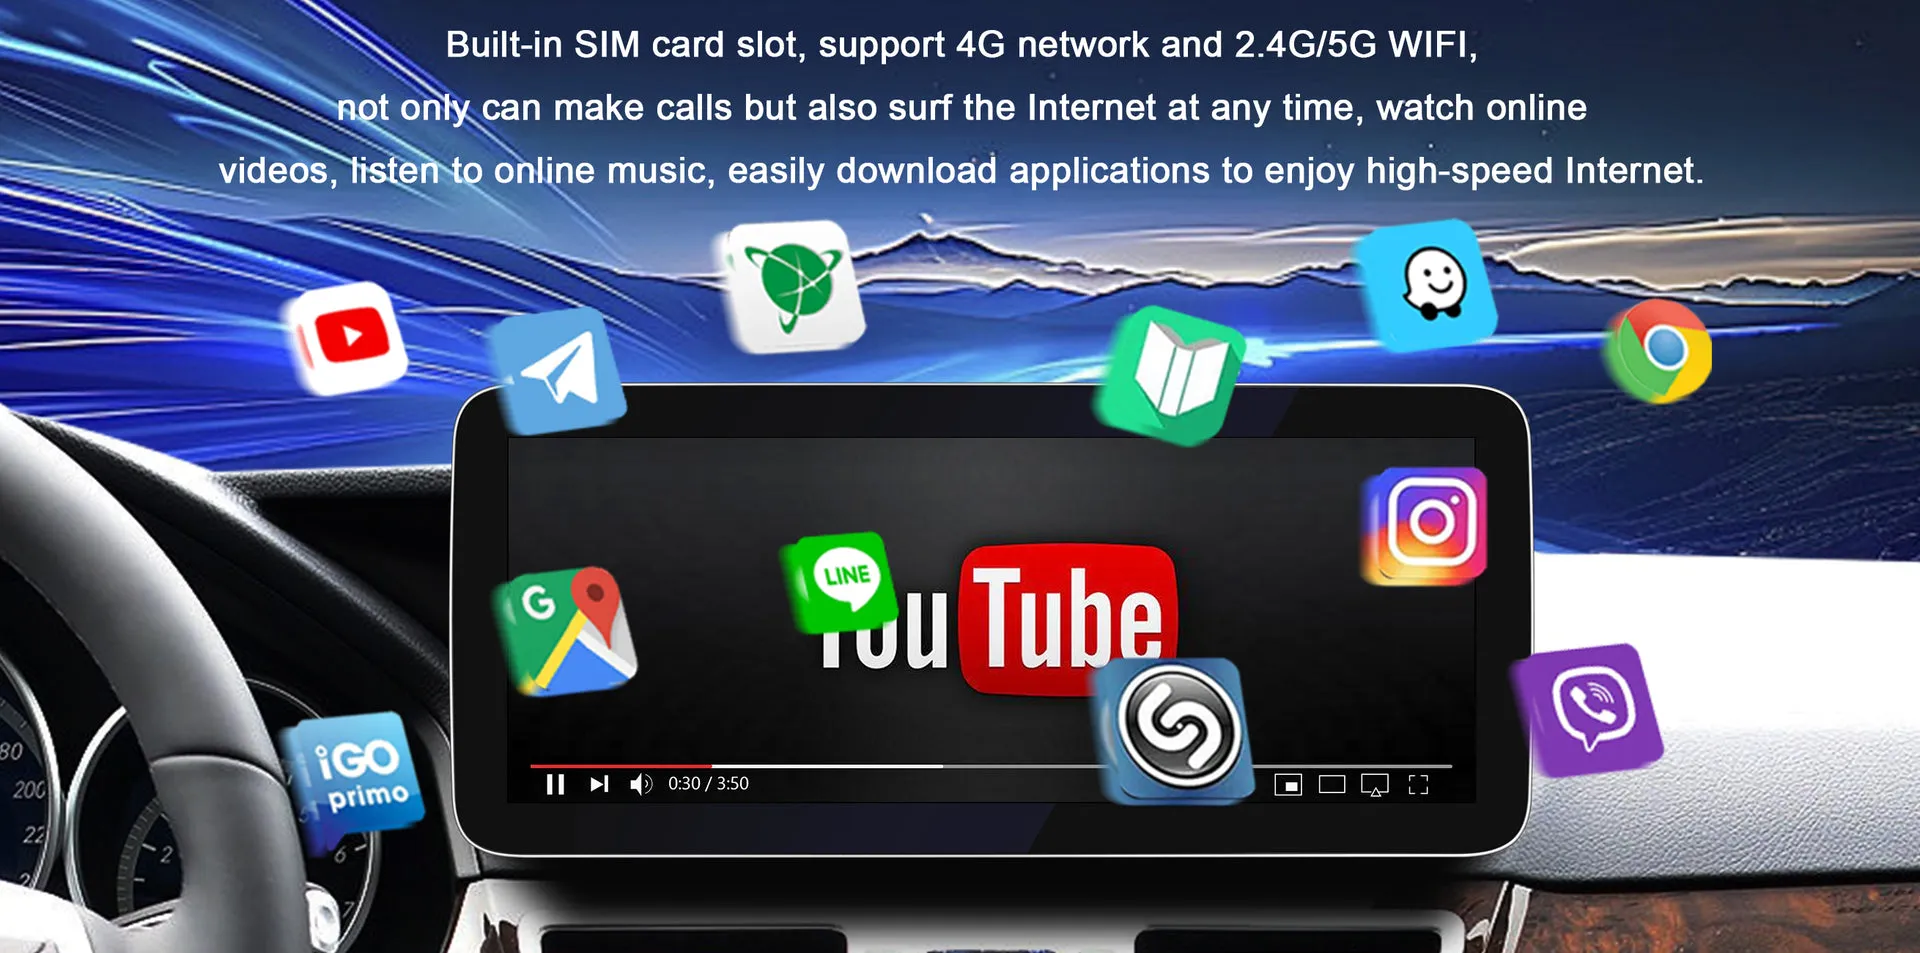
Upgrading to a Linux car screen offers a compelling alternative. By replacing or augmenting your factory display with a Linux-powered unit, you gain full control over your interface, unlock advanced functionality, and enjoy the kind of visual clarity that stock systems rarely deliver. It's a modification that sits at the intersection of technology and automotive passion.
This guide is written for custom car enthusiasts who want more than what the dealership offers. Whether you're drawn to open-source flexibility, better display performance, or simply the satisfaction of a truly unique build, this article walks you through everything you need — from understanding compatibility and gathering tools, to completing the installation and customizing your new setup for daily driving.
Why Upgrade Your Mercedes CarPlay with a Linux Car Screen?
Factory infotainment systems are designed for the average driver, not the enthusiast who wants something genuinely different. For custom car builders and tech-forward Mercedes owners, that gap between "good enough" and "exactly what I want" is precisely where Linux car screens shine. Unlike locked OEM units, a Linux-powered display gives you full root access to your interface — meaning you can reshape the entire user experience to match your preferences rather than the manufacturer's defaults.
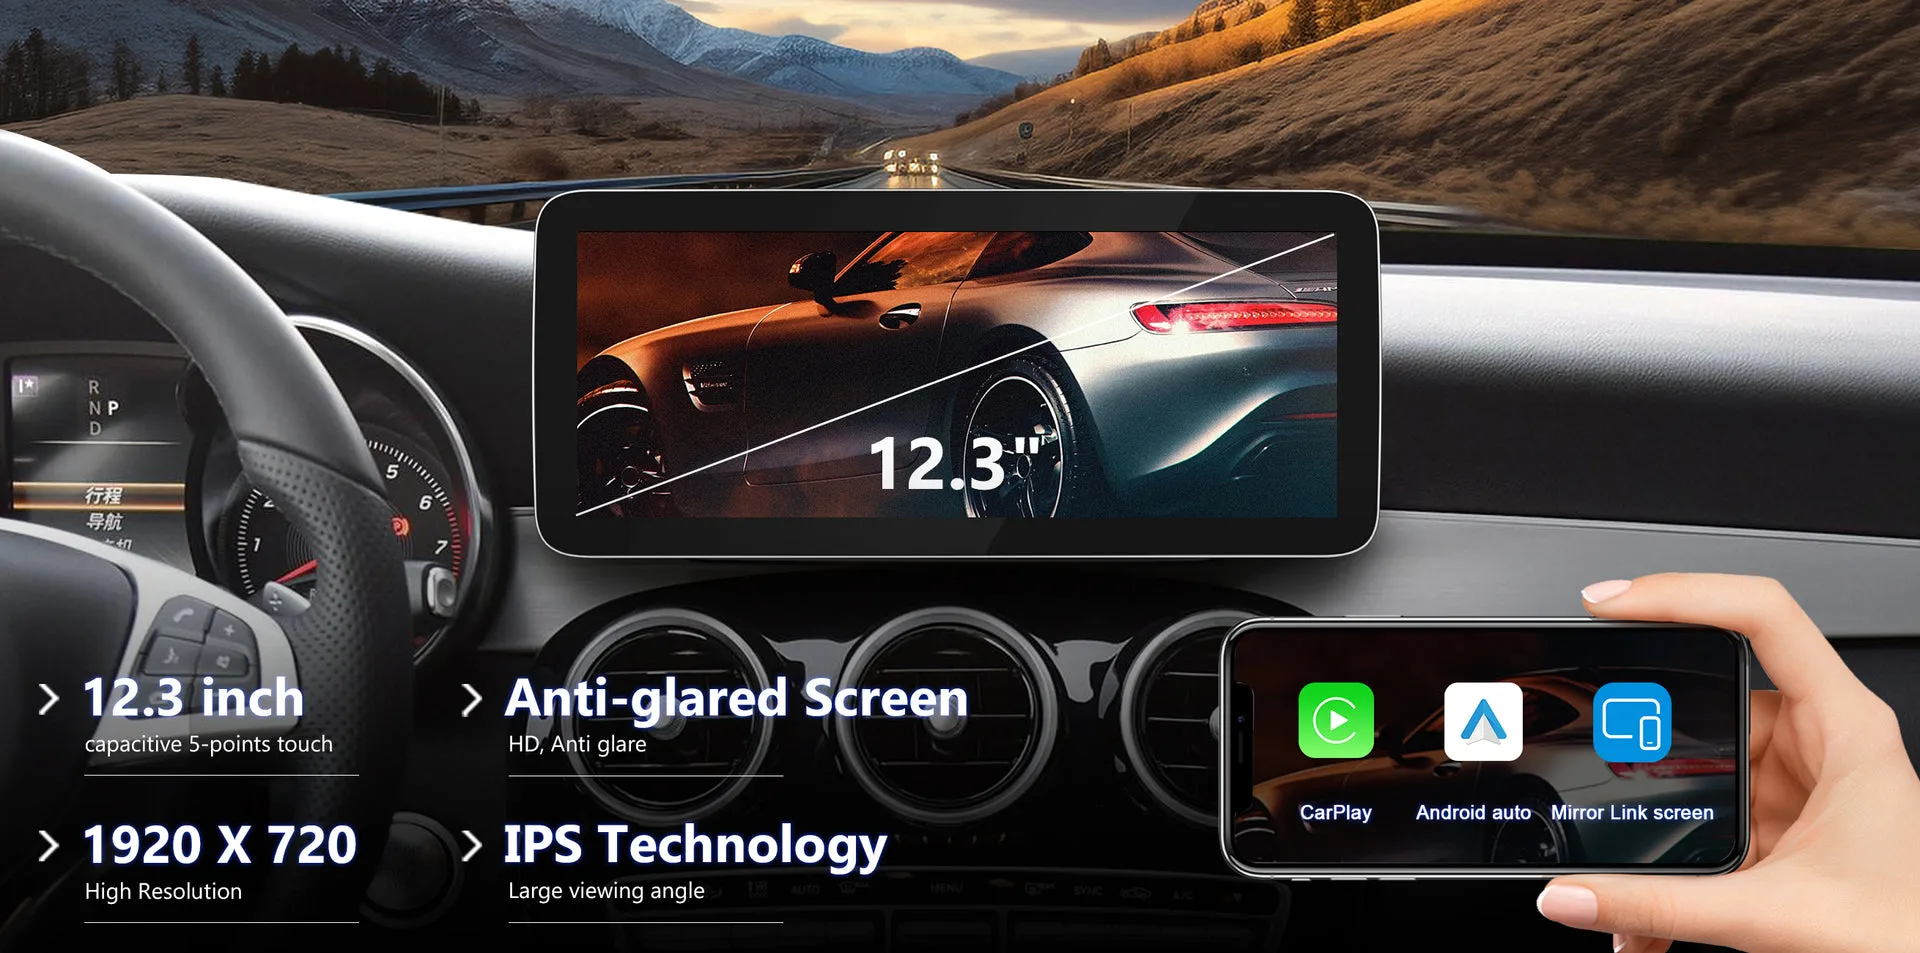
The visual difference alone is worth considering. Many aftermarket Linux screens offer superior panel technology with sharper contrast, wider color gamuts, and better brightness control than stock displays. Beyond aesthetics, the functional gains are significant: open-source app ecosystems, deeper audio system integration, real-time vehicle data overlays, and the ability to run custom navigation or media software. These are the kinds of custom car upgrades that transform daily driving into something genuinely personal. For enthusiasts who've already invested in a premium Mercedes CarPlay system, adding a Linux screen is the logical next step toward a build that's truly your own.
Understanding Your Mercedes Infotainment System: NTG4.5 and Beyond
Before touching a single screw, you need to know exactly what you're working with. Mercedes-Benz has deployed several generations of its COMAND infotainment platform across different model years, and the NTG4.5 system — found in many C-Class, E-Class, and GLK models from the early 2010s — is among the most popular targets for aftermarket upgrades. It uses a proprietary CAN bus architecture to communicate with vehicle systems, which directly affects how a Linux screen integrates with your existing hardware.
Newer Mercedes models may run NTG5, NTG5.5, or the more recent MBUX platform, each with different connector layouts, communication protocols, and physical mounting configurations. Identifying your exact system before purchasing any hardware saves you from costly compatibility mismatches. Check your vehicle's build sheet, consult the owner's manual, or use the system's own version menu under Settings to confirm your NTG generation. This single step determines which Linux screen adapters you'll need and whether your chosen unit supports native CAN bus communication for steering wheel controls and vehicle data integration.
Essential Tools and Pre-Installation Preparation
Walking into this installation without the right equipment is a recipe for frustration. At minimum, you'll need a set of plastic trim pry tools, a Torx screwdriver set (T10 and T20 are most common in Mercedes dashboards), a multimeter for verifying voltage, a wiring harness adapter specific to your NTG generation, and heat-shrink connectors for clean, reliable joins. A trim removal kit prevents scratching your interior panels during disassembly — a small investment that protects a much larger one.
Before touching anything electrical, disconnect the negative terminal of your battery and wait at least 15 minutes to allow capacitors in the airbag system to discharge. Back up any saved navigation points or system preferences from your existing COMAND unit if your system supports export. Confirm that your chosen Linux screen's dimensions match the factory DIN slot or fascia opening, and verify that its connector pinout aligns with your vehicle's harness. Cross-reference the screen's CAN bus compatibility against your specific NTG version — this single compatibility check prevents the most common installation failures before they happen.
Step-by-Step Guide to Installing a Linux Screen in Your Mercedes
With your tools assembled and compatibility confirmed, you're ready to begin the actual installation. The process moves through four distinct phases: removing the factory unit, connecting the new hardware, configuring the software, and verifying everything works as intended. Work methodically through each phase rather than rushing ahead — a careful approach here prevents damage to both your new screen and your vehicle's interior.
Removing the Old Display Unit
Start at the dashboard trim surrounding the COMAND unit. Insert your plastic pry tools at the panel edges and work around the perimeter with gentle, consistent pressure — never lever against a single point. Once the trim panel releases, set it aside carefully. Remove the Torx screws securing the head unit to its mounting cage, then slide the unit forward. Disconnect the antenna leads first, followed by the main wiring harness connector by pressing its release tab. Label each connector with masking tape before removal to eliminate guesswork during reassembly.
Connecting the Linux Car Screen Hardware
Mount your wiring harness adapter to the Linux screen's input connector before sliding the unit into position — it's far easier to make these connections with the screen outside the dash. Match the adapter's output to your vehicle's factory harness connector, ensuring the CAN bus wires align correctly for steering wheel control integration. Connect the power leads, verifying polarity with your multimeter before applying any current. Route any additional data cables — USB, HDMI, or auxiliary inputs — through the dash cavity cleanly, using existing grommets wherever possible to prevent chafing. Suppliers like PEMP Car Audio offer NTG-specific harness adapters that simplify this step considerably, particularly for builders working across multiple Mercedes generations.
Software Setup and Configuration
Power on the screen before final mounting to confirm it boots correctly. Most Linux car screen units ship with a pre-installed automotive Linux distribution, but you'll need to complete initial configuration through the setup wizard. Navigate to the CarPlay integration settings and enable the Apple CarPlay or Android Auto bridge module if your unit supports it. Set your display resolution to match the panel's native output, configure the CAN bus input to your NTG generation, and adjust the touchscreen calibration. Save your configuration to internal storage before proceeding.
Testing the Installation
Reconnect the battery and power the system on with the screen still accessible outside the dash. Confirm the display output is sharp and correctly oriented, then run through touch calibration by tapping each corner point precisely. Connect your phone via USB to verify CarPlay or Android Auto handshake completes successfully. Test audio output through all speaker channels and confirm steering wheel controls register correctly through the CAN bus. Only after all functions check out should you slide the unit into its mounting cage, secure the Torx screws, and refit the trim panel.
Customizing Your Linux Car Screen for Optimal Performance
Getting the screen installed is only half the journey — what you do with it afterward defines the real value of the upgrade. One of the first things to address is display performance in changing light conditions. Most Linux automotive distributions include dedicated display management tools where you can enable anti-glare display modes, adjust ambient light sensor response, and fine-tune color temperature for both daytime and night driving. These anti-glare display settings reduce eye strain on long drives and make the interface genuinely usable in direct sunlight, something many stock Mercedes displays struggle with.
Beyond visual tuning, the open-source nature of your Linux environment means the interface is yours to reshape. Install a custom launcher to reorganize your most-used apps across the home screen, or load a community-built automotive skin that puts vehicle data front and center. For audio enthusiasts, parametric equalizer apps like Wavelet or DSP Manager integrate directly with your car's speaker channels, giving you granular control that factory COMAND systems simply don't offer. Navigation can be upgraded by sideloading offline-capable apps such as OsmAnd or Maps.me, eliminating subscription fees while delivering reliable routing. As a final optimization step, configure startup scripts to auto-launch your preferred apps on boot, so the system is ready the moment you turn the key — no manual navigation required for daily use.
Troubleshooting and Maintenance Tips
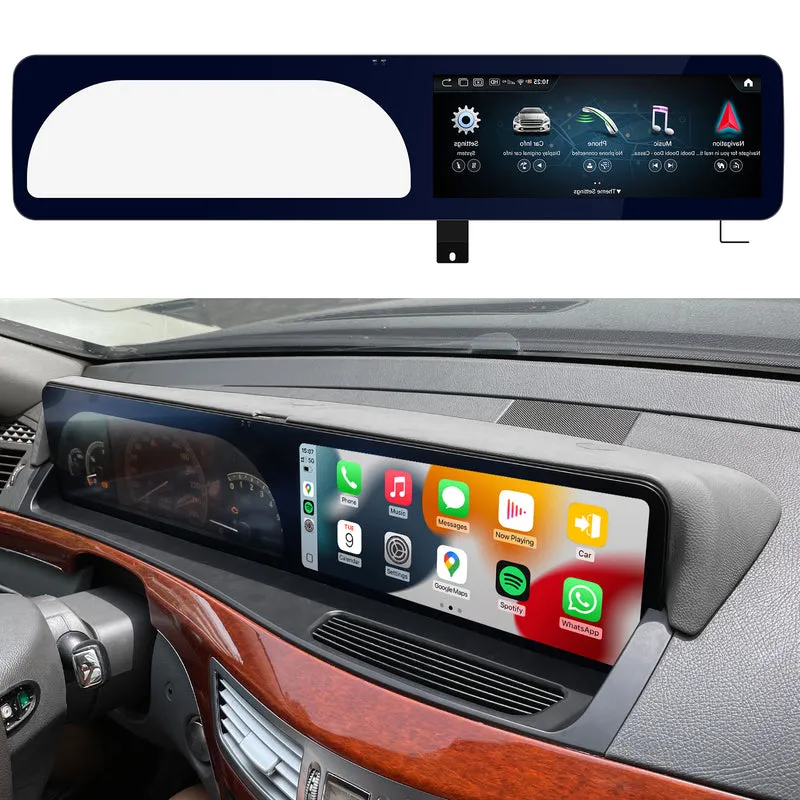
Even a well-executed installation can surface unexpected issues during the first few days of use. The most common problem is steering wheel controls failing to register — this almost always traces back to an incorrect CAN bus configuration. Return to your system settings, verify the NTG generation is set correctly, and re-save. If the screen boots to a black display, check your power lead polarity and confirm the harness adapter is fully seated. CarPlay connection failures typically resolve by toggling the bridge module off and on, then re-pairing your phone through the settings menu rather than relying on auto-detection.
For long-term reliability, treat your Linux screen like any other computer in your vehicle. Restart the system fully once a week to clear cached processes and prevent memory buildup. Keep your automotive Linux distribution updated — security patches and driver updates regularly improve touchscreen responsiveness and CAN bus stability. Inspect wiring connections every six months, particularly at grommets where cables pass through metal panels, since road vibration gradually loosens even well-secured joins. Clean the display surface with a microfiber cloth only, avoiding ammonia-based products that degrade oleophobic coatings over time. If you sourced your unit from a CarPlay-focused retailer such as PEMP Car Audio, their support documentation often includes model-specific maintenance intervals worth bookmarking for reference.
Transform Your Mercedes with a Linux Screen Upgrade
Upgrading your Mercedes CarPlay system with a Linux car screen is one of the most rewarding modifications an enthusiast can make. You've seen why the upgrade matters — full interface control, superior display quality, and open-source flexibility that stock COMAND units simply can't match. You now understand how to identify your NTG generation, gather the right tools, and work through the installation safely from first trim panel removal to final testing. And with customization options ranging from anti-glare display tuning to parametric audio control and offline navigation, the system you end up with is genuinely yours.
What sets this modification apart from bolt-on upgrades is that it keeps evolving. Your Linux environment grows with you — new apps, updated distributions, and community-built interfaces continue expanding what your screen can do long after installation day. For custom car enthusiasts who refuse to accept factory limitations, that ongoing potential is the real payoff.
The tools are on the table, the steps are clear, and your Mercedes is waiting. Start with a compatibility check on your NTG system, source your hardware, and begin the build that turns a great car into something unmistakably personal.